React Native uses Objective-C by default for native libraries. This tutorial covers how to use Swift for UI libraries in IOS using Cocoapods.
I made this tutorial for a demo I've presented in a RN meetup group in Auckland. Also wanted to share here:


This application uses CocoaPods
Please refer to CocoaPods to make the installation:
https://guides.cocoapods.org/using/getting-started.html
After you've installed Cocoapods to your machine, we need to set it up for our project.
cd ios
pod init
pod install
You may get below error. This is a bug and it is actually declared twice. Just remove one of the instances from ios/Podfile. Then re-run pod install.
$ pod install
Analyzing dependencies
[!] The target `rnAKLMeetupDemo-tvOSTests` is declared multiple times.
We won't even be using tvOS, so I can remove that one too. My pod file will look like below:
# Uncomment the next line to define a global platform for your project
platform :ios, '9.0'

target 'rnAKLMeetupDemo' do
  # Comment the next line if you don't want to use dynamic frameworks
  # use_frameworks!

  # Pods for rnAKLMeetupDemo

  # pod "PlayerKit" // I will add PlayerKit later ;)

end
After this I can run pod install again:
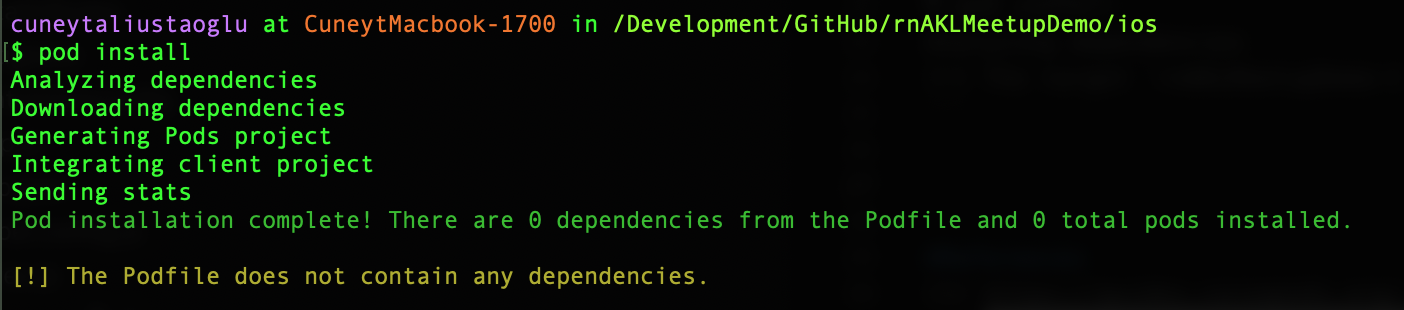
As shown in the picture above, we don't have any dependencies yet.
I want to implement Vimeo's PlayerKit component:
https://cocoapods.org/pods/PlayerKit
Let's add below to ios/Podfile under the line # Pods for rnAKLMeetupDemo
pod "PlayerKit"
and run pod install again
It should print below message this time
Pod installation complete! There is 1 dependency from the Podfile and 1 total pod installed.
Now if you open Xcode, under Pods you will see PlayerKit. Run the application to see the classic "Welcome to React Native" message, so we know that everything compiles.
Under rnAKLMeetupDemo:
- Create NativeModules directory (we don't have to but I want to be a bit tidy)
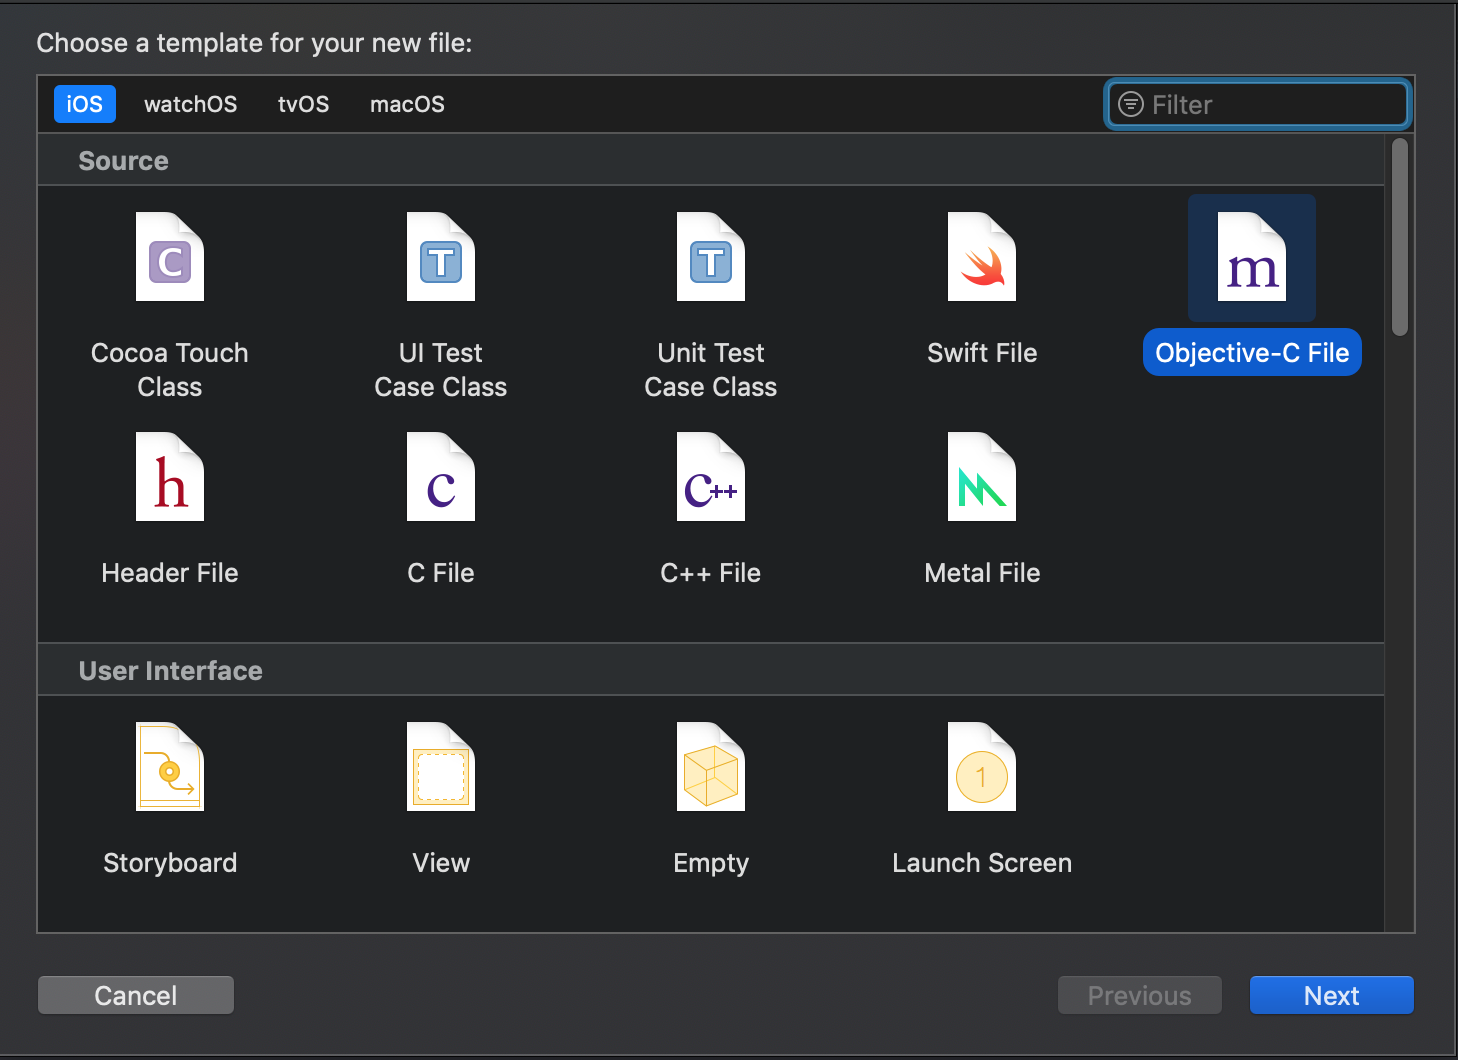
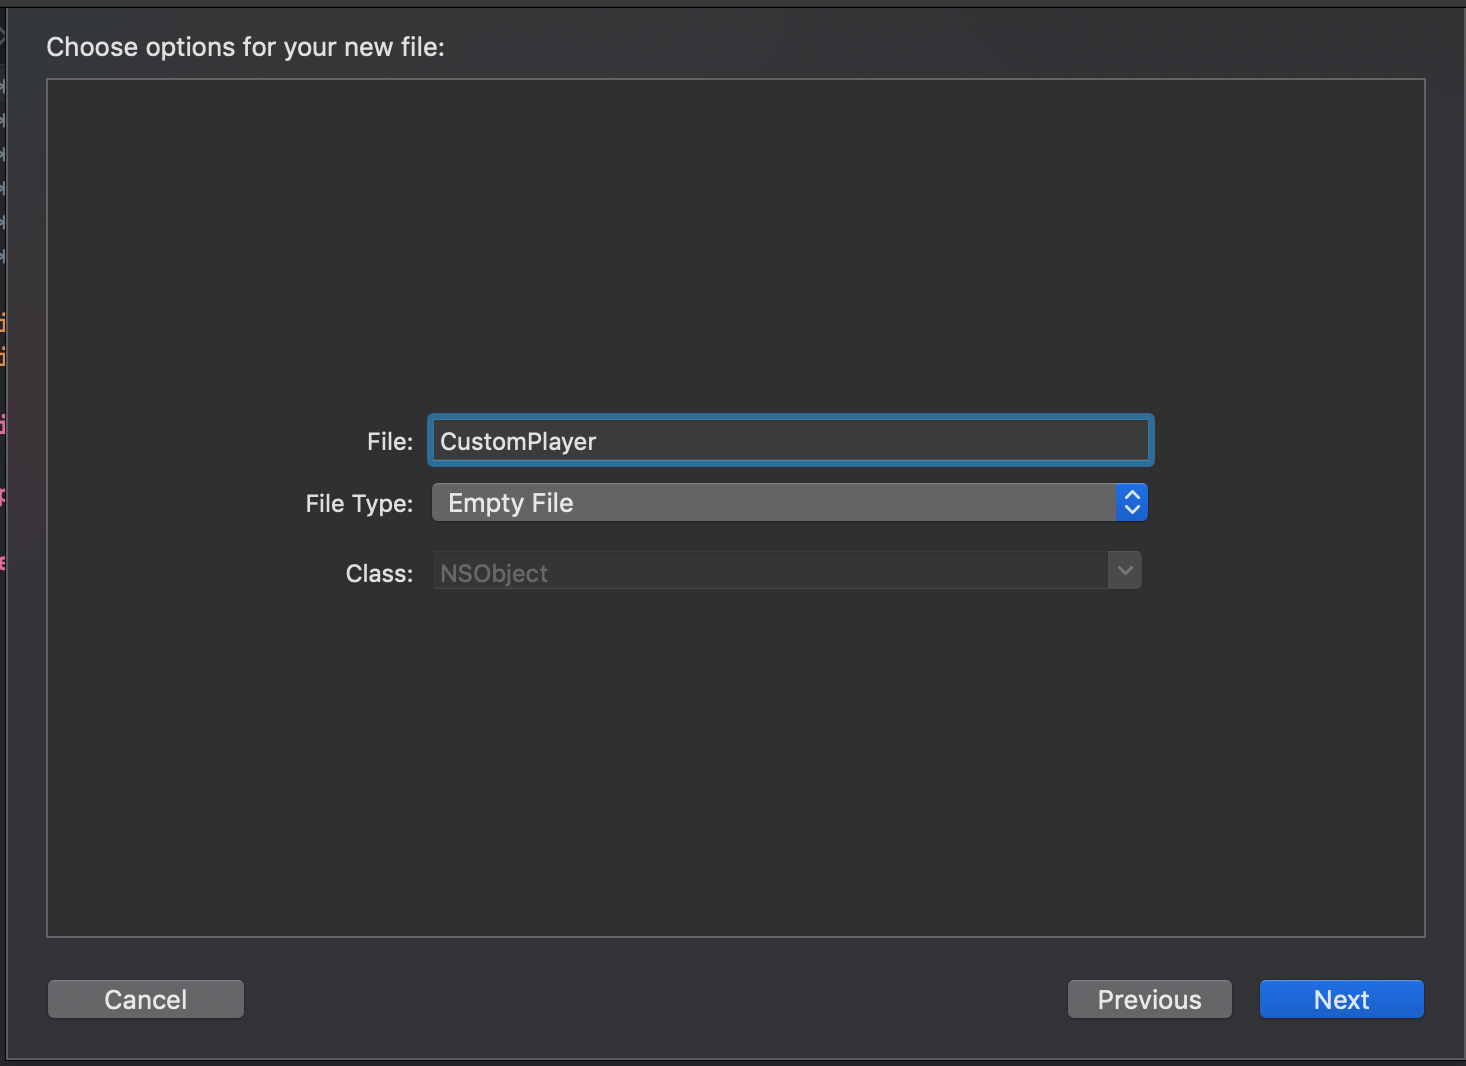
- Add a new Swift file called CustomPlayer
- Xcode will ask you to create a bridging header. Say yes to it. You can change the name but default name is also OK. I used the default name
- Bridging header will only be created once. Next time you want to add another Swift file you will not need and should not create another bridging header.
React Native does not work with Swift-only setup yet. So, we need to create Objective-C files just to export our Swift files. Don't worry, Objective C files will be minimal. You can think them as interfaces to the implementation we do in Swift.
Under the same folder (NativeModules), this time create an Objective-C file called
Now we have 3 files:
- CustomPlayer.swift
- rnAKLMeetupDemo-Bridging-Header.h
- CustomPlayer.m
Let's first update bridging header with the below imports that is needed by Swift file
#import "React/RCTBridgeModule.h"
#import "React/RCTViewManager.h"
Then update CustomPlayer.swift to use PlayerKit
import Foundation
import UIKit
import PlayerKit
import AVFoundation

@objc(CustomPlayer)
class CustomPlayer: RCTViewManager {

  override func view() -> UIView! {
    let player = RegularPlayer()
    player.set(AVURLAsset(url: URL.init(string: "http://clips.vorwaerts-gmbh.de/big_buck_bunny.mp4")!))
    return player.view
  }

  override static func requiresMainQueueSetup() -> Bool {
    return true
  }
}
We need to create a class that extends RCTViewManager. This way we tell React Native that we will manage UI from the native side. JavaScript will decide when and where to render this control.
We use @objc decorator for any class, method or property we want to export to JavaScript. But before going to JavaScript, it needs to go to Objective-C first.
Now open CustomPlayer.m to see how we export Swift class to JavaScript:
#import <Foundation/Foundation.h>
#import "React/RCTViewManager.h"

@interface RCT_EXTERN_MODULE(CustomPlayer, RCTViewManager)

@end
Here we just exported the module. You may have seen RCT_EXPORT_MODULE macro. That is when you use Objective-C modules only. If the module you're exporting from is a Swift class, you need to use RCT_EXPORT_MODULE instead.
So, that is it from the native side. Pretty tiny. But you can see that we only exported the module. We haven't exported or implemented any methods (pause, play, ff, rw etc.) But first I just want to see if this works:
Now go to App.js (of course in real life you may wanna use another file but for simplicity we use App.js)
import React, { Component } from 'react';
import { StyleSheet, Text, View, requireNativeComponent } from 'react-native';

const CustomPlayer = requireNativeComponent('CustomPlayer')

export default class App extends Component {
  render() {
    return (
      <View style={styles.container}>
        <Text>Welcome to React Native!</Text>
        <CustomPlayer style={{ width: 300, height: 300 }} />
      </View>
    );
  }
}

const styles = StyleSheet.create({
  container: {
    flex: 1,
    justifyContent: 'center',
    alignItems: 'center',
    backgroundColor: '#F5FCFF'
  }
});
With requireNativeComponent, we import the UIView class from the Swift thru Objective-C. Name of the component should be what you use in the brackets of the decorator objc(CustomPlayer).
We need to specify height and width to see the video player.
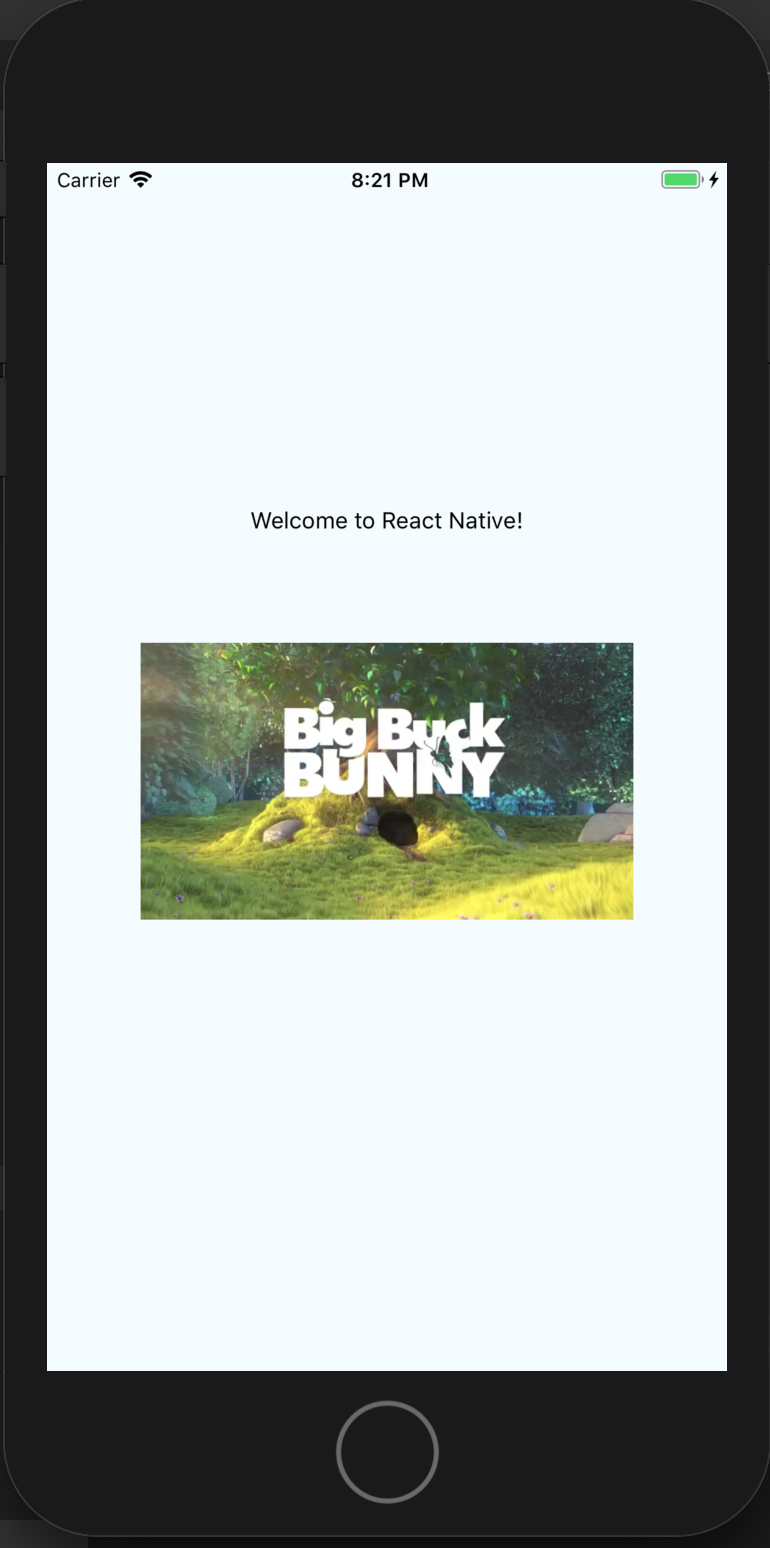
It works!
But video does not play because we did not implement anything about it. If you add player.play() before you return the view, you see it automatically plays the video.
    player.play()
    return player.view
But let's do this by using a prop so user can decide whether the video should autoplay or not. And also let's not hardcode filename.
<CustomPlayer
  autoPlay={true}
  filename="http://clips.vorwaerts-gmbh.de/big_buck_bunny.mp4"
  style={{ width: 300, height: 300 }} />
Before doing that, let's separate our View logic from ViewManager.
Add a file named PlayerView.swift next to your ViewManager.
import Foundation
import UIKit

class PlayerView: UIView {


  override init(frame:CGRect) {
    super.init(frame: frame)
    self.addSubview(UIView())
  }

  required init?(coder aDecoder: NSCoder) {
    fatalError("init(coder:) has not been implemented")
  }

}
and update CustomPlayer.swift file as below:
@objc(CustomPlayer)
class CustomPlayer: RCTViewManager {


  override func view() -> UIView! {
    return PlayerView(frame: CGRect(x:0, y:0, width: 300, height: 300))
  }

  override static func requiresMainQueueSetup() -> Bool {
    return true
  }
}
Now we have a view that does not do anything. Just ignore required init? bit and take it as it is now.
Let's change PlayerView as below
  import PlayerKit
  import AVFoundation
  ...
  override init(frame:CGRect) {
    super.init(frame: frame)
    player = RegularPlayer()
    player.set(AVURLAsset(url: URL.init(string: "http://clips.vorwaerts-gmbh.de/big_buck_bunny.mp4")!))
    player.play()
    player.view.frame = frame
    self.addSubview(player.view)
  }
Now, PlayerView is ready to be called from JavaScript. So, let's update JavaScript as below:
import { requireNativeComponent } from 'react-native';

...

<CustomPlayer style={{ width: 300, height: 300 }} />
Now run the application again. Everything is hard coded. But works smoothly.
Now let's add autoPlay and filename props to the React element and manage it from the native side.
To export the prop we use RCT_EXPORT_VIEW_MODULE macro in the Objective-C.
#import <Foundation/Foundation.h>
#import "React/RCTViewManager.h"

@interface RCT_EXTERN_MODULE(CustomPlayer, RCTViewManager)
  RCT_EXPORT_VIEW_PROPERTY(autoPlay, BOOL)
  RCT_EXPORT_VIEW_PROPERTY(filename, NSString)
@end
Now where to add autoPlay and filename to Swift?
Update your PlayerView.swift file as below and pay attention to autoPlay and filename variables. We added @objc decorator to sign them as exportable to Objective-C and then JavaScript.
Also setters work asyncronously, so you cannot use these props in the init() function. When the props are set, didSetProps() function is called. It is called with changedProps parameters which include an array of prop names. This was also one of my reasons to separate UIView logic from RCTViewManager. I can easily override lifecycle functions and have tidier components.
import Foundation
import UIKit
import PlayerKit
import AVFoundation

class PlayerView: UIView {

  @objc var autoPlay: Bool = false
  @objc var filename: NSString = ""
  var player: RegularPlayer!

  override init(frame:CGRect) {
    super.init(frame: frame)
    player = RegularPlayer()
    player.view.frame = frame
    self.addSubview(player.view)
  }

  override func didSetProps(_ changedProps: [String]!) {
    player.set(AVURLAsset(url: URL.init(string: self.filename as String)!))
    if (self.autoPlay == true){
      player.play()
    }
  }

  required init?(coder aDecoder: NSCoder) {
    fatalError("init(coder:) has not been implemented")
  }

}
And our javascript file is not hard to guess:
<CustomPlayer
  autoPlay={true}
  filename="http://clips.vorwaerts-gmbh.de/big_buck_bunny.mp4"
  style={{ width: 300, height: 300 }} />
So, the parameters are no longer hard-coded in the native side.
autoPlay prop is very useful but not enough. I want to keep it but also want to control the video manually. I want to be able to do this by 2 ways.
- By clicking on the video
- By clicking on a that was created in the JavaScript.
First one is easy. I will just override tochesBegan (or end) function of my view.
Update PlayerView.swift as below. And the code is self explanatory.
  override func touchesBegan(_ touches: Set<UITouch>, with event: UIEvent?) {
    if (self.player.playing) {
      self.player.pause()
    } else {
      self.player.play()
    }
  }
For the second method, we need to send a command from JS to Native. Things will get a little bit complicated. We need to get the UIView's node handle number to send commands. To get the "node handle" we need to use "ref". And then using UIManager's command dispatcher. Let's add some new classes from react-native library.
I will implement the play/pause functionality again, but this time from JavaScript button. JS will send a command to Swift and UIViewManager of IOS will respond to my JS command.
import { ... UIManager, findNodeHandle, createRef } from 'react-native'
const playerRef = React.createRef();
...
render(){
  ...
    <CustomPlayer ref={playerRef} ... ></CustomPlayer>
    <Button
      title="Toggle play"
      onPress={() => {
        const nativeCommands = UIManager.getViewManagerConfig('CustomPlayer').Commands;
        const playerNodeHandle = findNodeHandle(playerRef.current);
        UIManager.dispatchViewManagerCommand(playerNodeHandle, nativeCommands.togglePlay, []);
      }}
    />
}
- First we created a ref and added as ref prop of CustomPlayer.
- Then get the node handle from the ref.
- Get native commands that are created with @objc in the view manager.
- Using dispatchViewManagerCommand I've triggered a command called togglePlay (which I haven't implemented yet)
Let's implement this command in Swift:
update CustomPlayer.swift as below:
....
class CustomPlayer: RCTViewManager {
  var playerView: PlayerView!

  override func view() -> UIView! {
    playerView = PlayerView(frame: CGRect(x:0, y:0, width: 300, height: 300))
    return playerView
  }

  ...

  @objc public func togglePlay(_ node:NSNumber){
    playerView.togglePlay()
  }


}
ViewManager will call the same named function of the PlayerView class.
And update PlayerView as below:
...
  public func togglePlay(){
    if (self.player.playing) {
      self.player.pause()
    } else {
      self.player.play()
    }
  }
...
Also we need to update objective-c file as below so that the Swift method will be accessible from JS.
...
RCT_EXTERN_METHOD(togglePlay:(nonnull NSNumber *)node)
...
Works pretty good. But, Objective-C is very weird especially for JS developers. This example does not send any params to Swift. When I first tried Objective-C, it took me some time to figure out how to send multiple parameters using an Objc function. So let's do another example where we can change the filename that PlayerKit plays.
...
<TextInput
    style={{ width: 300, height: 40, backgroundColor: '#ddd' }}
    value={this.state.videoUrl}
    onChange={e => this.setState({ videoUrl: e.nativeEvent.text })}
  />
<Button
    title="Change video"
    onPress={() => {
      const playerNodeHandle = findNodeHandle(playerRef.current);
      UIManager.dispatchViewManagerCommand(playerNodeHandle, this.nativeCommands.changeVideo, [
        this.state.videoUrl,
        'dummy param'
      ]);
    }}
/>

...
This time we invoke a function called changeVideo and send 2 string parameters. One is a new url and the second one is just a dummy parameter just to show how to add more params. We won't use it. Just check togglePlay does not send any params (other than node handle) and changeVideo sends 2 params.
RCT_EXTERN_METHOD(togglePlay:(nonnull NSNumber *)node)
RCT_EXTERN_METHOD(changeVideo:(nonnull NSNumber *)node
                  url:(nonnull NSString *)url
                  extraParam:(nonnull NSString *)extraParam)
first parameter in the array that we dispatch will be assigned to url and second param will be assigned to extraParam. playerNodeHandle is assigned to node variable that we will not use. But, RN/Swift uses that in the background.
CustomPlayer.swift
...
  @objc public func changeVideo(_ node:NSNumber, url:NSString, extraParam:NSString){
    playerView.changeVideo(url: url, extraParam: extraParam)
  }
...
PlayerView.swift
  public func changeVideo(url:NSString, extraParam:NSString){
    player.set(AVURLAsset(url: URL.init(string: url as String)!))
    player.play()
  }
You can use the below gist that I've forked from somewhere else to test this new function with different URLs.
https://gist.github.com/aliustaoglu/68d5f9a59c83a9b3f116fa8438c6d14c
We need to cover one more thing. Sending a command from Swift to JS. We can do this by using a JS prop. Remember we used autoPlay={true}. What happens if we use prop like this: onVideoFinished={ e => doSomething() }. Then this function would be invoked from Swift and JS would do anything with the returned params.
For this better if we could use delegates. PlayerKit implements a delegate called PlayerDelegate. It does not have a function when video finishes but it does have one function as the time changes. So when player.time >= player.duration we can say the video is finished.
CustomPlayer.swift
class PlayerView: UIView, PlayerDelegate {
  func playerDidUpdateState(player: Player, previousState: PlayerState) {

  }

  func playerDidUpdatePlaying(player: Player) {

  }

  func playerDidUpdateTime(player: Player) {
    if (player.time>=player.duration) {
      self.onVideoFinished!(["message": "I am finished", "foo": "bar"])
    }
  }

  func playerDidUpdateBufferedTime(player: Player) {

  }

  ...
  @objc var onVideoFinished:RCTDirectEventBlock? = nil
  ...

  init(){
    ...
    player.delegate = self as PlayerDelegate
  }
CustomPlayer.m
...
RCT_EXPORT_VIEW_PROPERTY(onVideoFinished, RCTDirectEventBlock)
...
App.js
        <CustomPlayer
          ...
          onVideoFinished={e => {
            alert(e.nativeEvent.message);
            console.log(e.nativeEvent);
          }}
        />
Using UI Native Modules on Android
I have also made a tutorial about using UI native modules on Android. It's not for a video player though but it does not matter. It's for an application that uses Google Maps. I needed to use lots of markers, but it was extremely slow using the react-native-maps. So, I implemented a solution that uses Google Maps Android SDK. I needed to solve similar problems with Android in this tutorial.