I was using Arduino IDE and C++ to program my IOT devices built around ESP-12E. But, I was in need of a higher level language to easily manage my HTTP requests from the device as a client; or, create a small web server in the device itself. I found that using Arduino C++ was a bit hard to deal with that. I liked the idea of using Python in ESP8266 so decided to install MicroPython firmware on ESP8266 E-12.
I am using Python 3.7 but Python 2.7 should also work (according to documentation in MicroPython but I haven't tested it)
For the Hello World application we will not to build any electronic circuit as we're using built-in LED. But I assume your ESP-12E is soldered and connected to an FTDI interface.
Installing steps
-
Install Python if not already installed
-
Install pip3 (or pip if you're on Python 2.7)
https://pip.pypa.io/en/stable/installing/ -
Install esptool
pip3 install esptool -
Download MicroPython firmware
http://micropython.org/resources/firmware/esp8266-20180511-v1.9.4.bin -
Erase flash in your ESP8266 (Update your PORT accordingly)
esptool.py --port PORT3 erase_flash -
Flash new firmware
esptool.py --port PORT3 --baud 115200 write_flash -fm dio 0x00000 esp8266-20180511-v1.9.4.bin -
If step above doesn't work try changing baud rate (to 57600 or something else)
-
Install ampy (Check their website)
pip3 install adafruit-ampy -
Upload the blink example using ampy
Name below file as "main.py"
import machine
import time
led = machine.Pin(2, machine.Pin.OUT)
led.off()
time.sleep(1)
led.on()
time.sleep(1)
led.off()
time.sleep(1)
led.on()
time.sleep(1)
and upload using ampy:
ampy -d 1 --port /dev/cu.wchusbserial1420 -b 115200 ls
Above code will use the built-in LED on the ESP-12 so we don't need to connect any resistors or LEDs.
- If you can step all above steps without any problem you're lucky but I had some issues. Here is how I solved them:
Troubleshooting
I had below error when I tried ampy to list or upload files
ampy --port /dev/cu.wchusbserial1420 ls
raise PyboardError('could not enter raw repl')
ampy.pyboard.PyboardError: could not enter raw repl
I have done some research and found that the culprit was "pyboard.py" file from ampy.
find the location where this file exists
sudo find / -name pyboard.py
for me it was located here:
/usr/local/lib/python3.7/site-packages/ampy/pyboard.py
open this file with nano, vi or any text editor and locate the function name enter_raw_repl. Add the line this.sleep(2) where indicated as ### ADD THIS LINE
def enter_raw_repl(self):
        # Brief delay before sending RAW MODE char if requests
        if _rawdelay > 0:
            time.sleep(_rawdelay)

        self.serial.write(b'\r\x03\x03') # ctrl-C twice: interrupt any running program

        # flush input (without relying on serial.flushInput())
        n = self.serial.inWaiting()
        while n > 0:
            self.serial.read(n)
            n = self.serial.inWaiting()

        ### ADD THIS LINE
        ### ADD THIS LINE
        time.sleep(2)
        ### ADD THIS LINE
        ### ADD THIS LINE

        self.serial.write(b'\r\x01') # ctrl-A: enter raw REPL
        data = self.read_until(1, b'raw REPL; CTRL-B to exit\r\n>')
        if not data.endswith(b'raw REPL; CTRL-B to exit\r\n>'):
            print(data)
            raise PyboardError('could not enter raw repl')

        self.serial.write(b'\x04') # ctrl-D: soft reset
        data = self.read_until(1, b'soft reboot\r\n')
        if not data.endswith(b'soft reboot\r\n'):
            print(data)
            raise PyboardError('could not enter raw repl')
        # By splitting this into 2 reads, it allows boot.py to print stuff,
        # which will show up after the soft reboot and before the raw REPL.
        # Modification from original pyboard.py below:
        #   Add a small delay and send Ctrl-C twice after soft reboot to ensure
        #   any main program loop in main.py is interrupted.
        time.sleep(0.5)
        self.serial.write(b'\x03')
        time.sleep(0.1)           # (slight delay before second interrupt
        self.serial.write(b'\x03')
        # End modification above.
        data = self.read_until(1, b'raw REPL; CTRL-B to exit\r\n')
        if not data.endswith(b'raw REPL; CTRL-B to exit\r\n'):
            print(data)
            raise PyboardError('could not enter raw repl')
After this change I was able to run the command:
ampy --port /dev/cu.wchusbserial1420 ls
Now I can upload the file that I have written in step 9. Let's name this file as "main.py" and upload to ESP8266
ampy --port /dev/cu.wchusbserial1420 put main.py
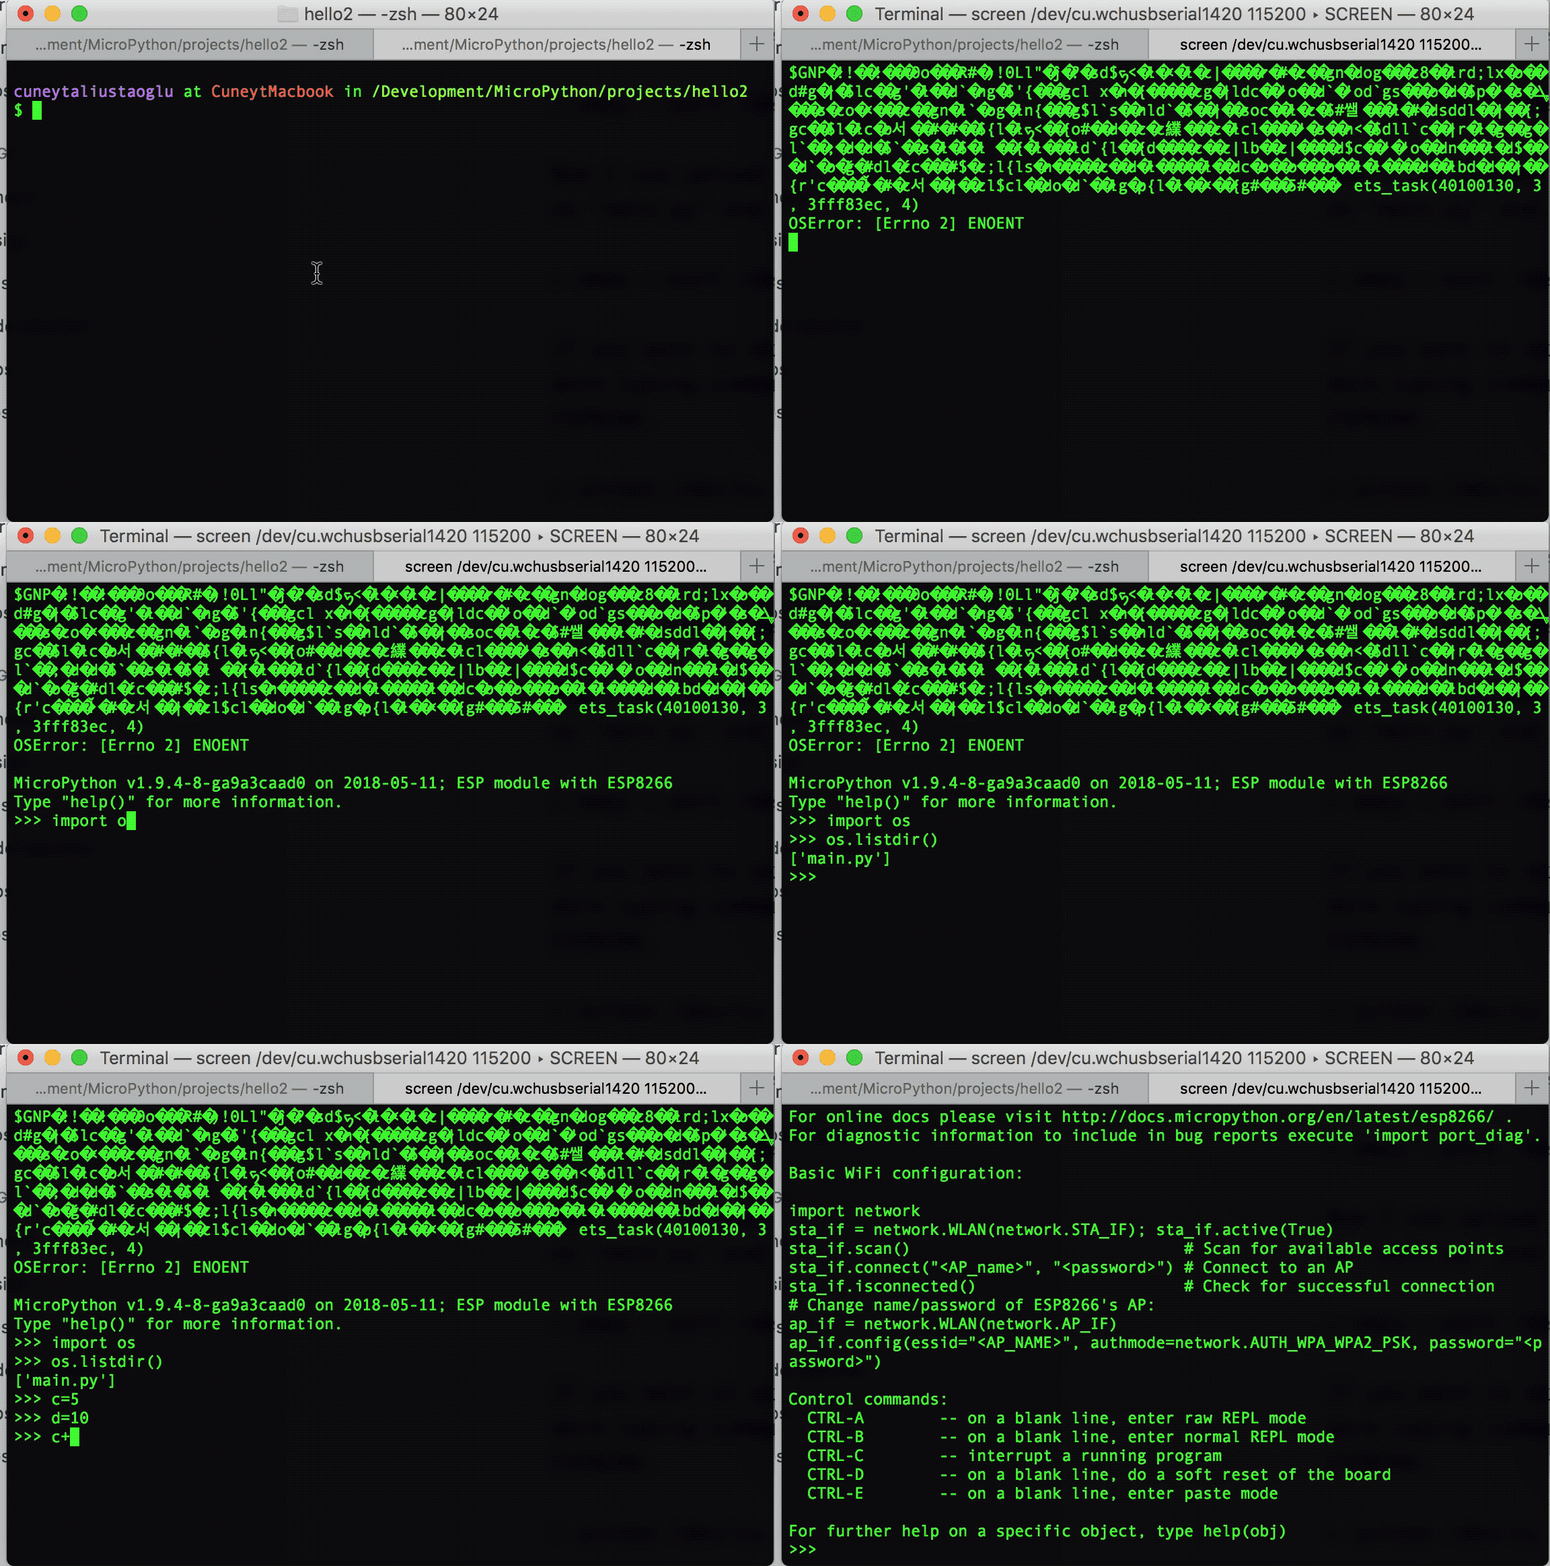
If you want to execute Python commands while connected to ESP8266 as if you were typing commands in IDLE, you can easily setup a serial connection with ESP8266.
screen /dev/cu.wchusbserial1420 115200

Now that we managed to install our first ever Python application for ESP8266 we're ready to build much more complicated application with the power of Python.
